

The key to creating a light up card, is choosing a design that has an element that can be illuminated. An element such as a window, fireplace, moon, ghost, etc. You can see some examples of these by scrolling through the posts on my blog. For this Christmas card project, I've chosen a window.

Choose a heavy weight card stock, so that your card does not warp. I use 110lb Recollections Cardstock available at Michaels.
Materials Needed:
2 sheets of heavy weight cardstock for card base
patterned paper for card design
pattern design for your card, I've used patterns from KaDoodle Bug Designs (see below)
battery operated tea light
vellum
stamped sentiment, I've used a sentiment from Craftin Desert Divas
glue
SCOR tape, or a compatible adhesive
The card size is based on 5-1/4 by 5-1/4 inches. When I create the pieces for my card design, I create a square in SCAL that measures 5-1/4 by 5-1/4 inches. I then position the shape I am going to want illuminated on this square. Once you have positioned the shape, "group" your pieces in SCAL. This is going to be your card front. I then import the pattern I'm going to use and downsize it to fit with my window. This part can be trial and error, so don't get discouraged.
Once you have positioned your window correctly, cut your card base from the heavy cardstock. Once this piece has finished cutting, leave it in the machine and cut it again. This way you get a clean cutting line.

You will then finish creating your pattern pieces for the card design. For this card, I've used the Cutie KaToodle Sleeping Mouse and the window from the Merry Christmas Bear, both patterns from KaDoodle Bug Designs.

Card front and finished piecings.

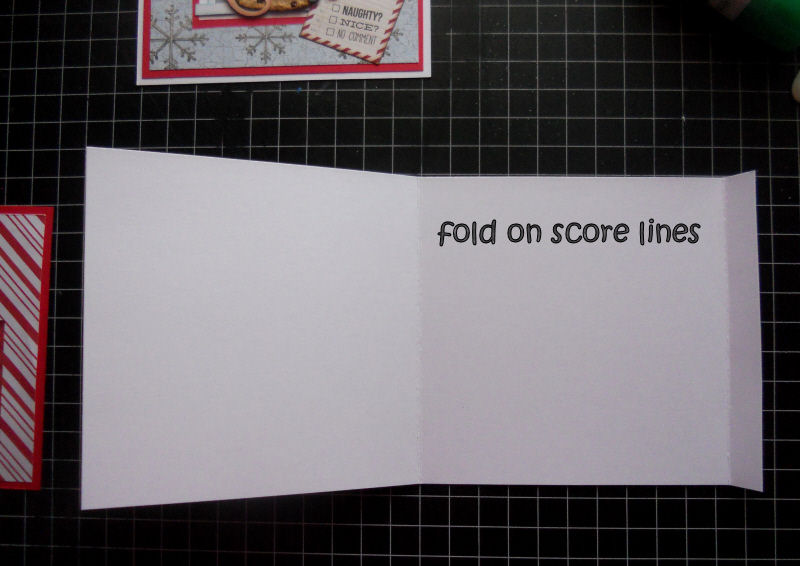
You will then cut the other part of your card base, using the heavy weight cardstock. Cut this piece to measure 5-1/4 inches by 11 inches. Once cut, score at 5-1/4 inches and at 10-1/2 inches. (see photo below)

You will now start assembling the elements to your card, starting with the card front.


Cut a piece of vellum to measure approximately 1/4 inch to 1/2 inch larger than the window you have cut in your card front.


Using your SCOR tape, adhere the vellum piece to the back of your card front, being careful to line it up evenly.


When turned around, this is what it should look like:

You will now start adding your pieces to the front of your card.


Now take the 5-1/4 inch by 11 inch piece, that you have scored and folded, and attach your card front to the smaller tab side as shown...


When folded, your card will look as follows...


You are now ready to add your stamped sentiment. The sizing for the sentiment piece should measure no more than 2-3/4 inches by 3-1/2 inches, so that your tea light has room behind the front of your card.

Your battery operated tea light slides behind your card front...


Before adding your tea light, finish off embellishing your card front. When finished, your card will be sure to please anyone who receives it!


